
Gone too far(ro).
Today’s issue can broadly, vaguely, maybe?, be described as a list of things gone a little too far: burnt food, rotting produce, crispy farro, and another angry, famous white man spending other people’s money. (Just kidding about the farro, it’s not “too” anything, it’s perfect, you’ll love it.) Today’s issue has all parts intact and should take you between 6 and 8 minutes to read (though if you dive down deep into the Links. section, that number goes up to like “a day and a half,” but don’t be dissuaded - it’s worth it). Enjoy.
xo.
Reader Q.
Question: “I consider myself to be a pretty good cook but there’s this one kinda unavoidable caveat: I burn everything I cook on the stove. Grill, oven, airfryer, Instant Pot, I slay, but no matter what I do, I burn whatever I prepare on my range unless it’s boiling in a pot of water. If I turn the heat down enough to not set off all of my fire alarms and wreck my meal, it’s barely hot enough to cook anything. My meats just get rubbery. What the heck am I doing wrong?” - K.A., Severna Park, MD
Answer: While you can usually adjust ingredients to suit your palate and pantry, certain swaps can produce drastic and unexpected results: swapping in butter for avocado oil, for example (butter has a much lower smoke-point), or using fresh lemon juice instead of vinegar (the higher sugar content in fresh citrus will burn super quickly at high temps). In many recipes, changes like this are relatively inconsequential - but in simple, drier preparations like sautes and pan-sears, you want to make sure that you’re using ingredients that are appropriate for high-heat applications, and that you’re adding ingredients to the pan at the right time, at the right temperature. (A dish that calls for a finishing squeeze of lemon, for example, may well burn if you simply add that lemon juice at the beginning of cooking, instead.)
HOWEVER!, assuming you’ve followed a few recipes to the letter in an effort to trouble-shoot your problem, I’m going to guess that the more likely culprit is your cookware. If you’re frequently using a saute pan that is lightweight and thin, or made of 100% stainless steel (or even glass)(they exist!), you’re asking for trouble. Those are designs/materials that conduct heat very well, but don’t diffuse it across the surface of the pan - meaning that you’ve got crazy temperature differentials on your cook-surface (more commonly known as “hot spots” - areas of searing heat just above your burner, and colder patches elsewhere). Thinner and lesser-quality pans like this require you to crank your stove up, since they’re not diffusing or retaining the heat from your burner: it requires a constant supply of too-high heat to cook food. Cast iron, too, can be troublesome: cast iron actually diffuses heat very well, but it also retains that heat better than any other cooking metal, meaning that while you might sometimes need to lower the heat ASAP to avoid a smoky situation, the cast iron is going to take its sweetass time responding to your knob adjustments. For general all-purpose stovetop cooking, a thick copper- or aluminum-core 10” or 11” stainless steel pan is really worthwhile investment: you’ll be rewarded with even but indirect heat that still responds manageably to your burner adjustments.
And listen, when I say “thick,” I mean it: a good skillet can be 1/3” or even 1/2” thick. If you’re still using those single-ply, aluminum-clad Farberware pots and pans that everyone had in the ‘80s (you know the kind I mean: with the thumbprint knobs and metal construction no thicker than a butter knife?), it’s time to toss them.
Links.
(TW/CW: the link below will direct you to the first section of a 3-part Eater.com investigative long-form piece, and this first section includes a brief but detailed account of sexual assault. If you’re still interested in the story but wish to avoid that content, you can skip ahead with these links to Part 2 and Part 3.)
Only one link this week, because the article is quite long, but something I found to be incredibly valuable: Eater this week published a 3-part piece on Dan Barber - a man often hailed as one of the most innovative chefs in the world - and the complicated relationship between him, Stone Barns (a Rockefeller-funded farm in upstate NY, one that has purportedly always aimed to be at the forefront of regenerative agriculture) and Barber’s on-site, Michelin-starred fine dining restaurant, Blue Hill at Stone Barns. Barber, the farm, and their restaurant have long been storied to be some of our MVPs in the effort to responsibly move food and farming into the overpopulated and globally-warmed future. This story offers important insight and perspective.
Recipe.
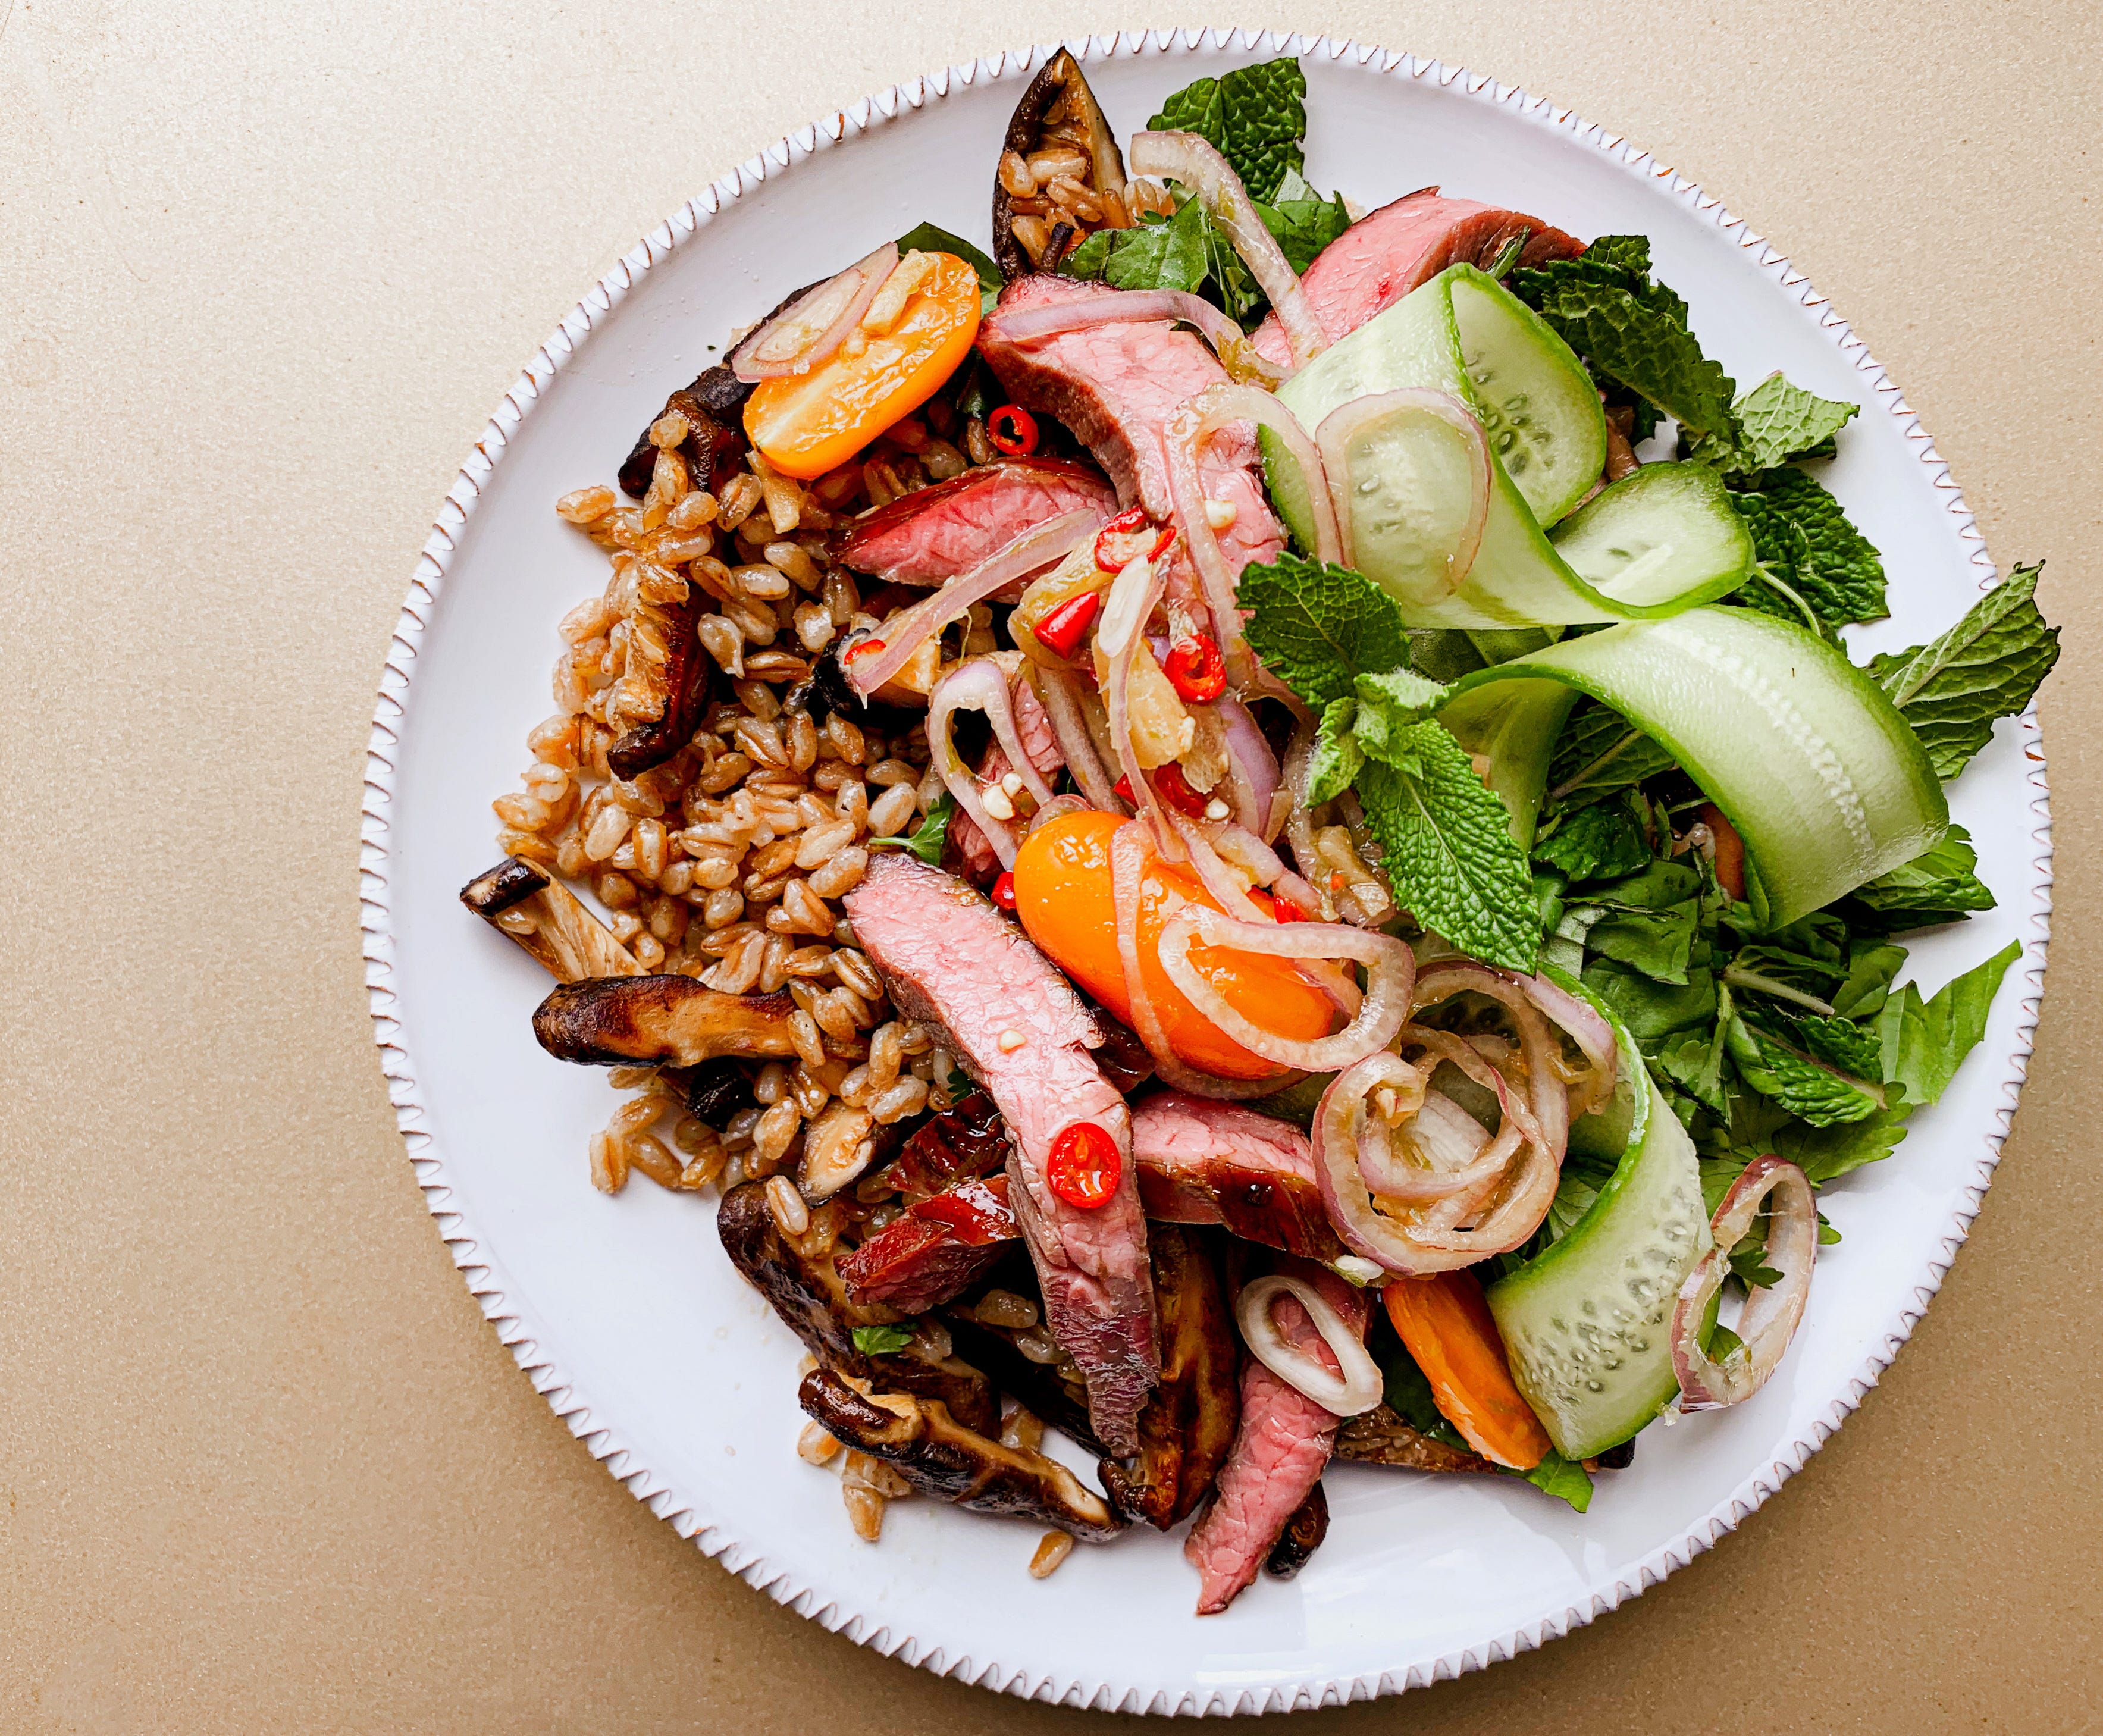
Thai-style Beef with Crispy Farro & Mushrooms
A riff on Thai beef salad (yum nua), one made a little easier and a little heartier than the (no less delightful!) original. We’re trading the more-traditional but tedious roasted rice powder for crispy pan-fried farro (equally toasty flavor and crunchy texture, but with much more heft and a pleasing chew), and instead of making a marinade separate of the dressing, we’ll craft one super-flavorful potion that does double-duty. Reverse-searing our steak ensures a perfect medium-rare, every time, without any hassle.
» Don’t eat beef? NBD: you can swap in shrimp, or any favorite cut of pork or poultry - the dressing plays well with all of it. Or, treat some tofu planks or trimmed portobello caps just as you would the meats.
» Speaking of “no beef,” this dish is easily made vegan by omitting it - because, yes, vegan fish sauces do exist!
» The coffee component of the dressing is unexpected, I know, but it adds a really great roastiness and depth that plays well with the acidic dressing and charred beef. If you don’t have it, it’s fine to skip it, but consider picking up a jar: it’s inexpensive, lasts forever, and even if you’re a coffee purist who would never drink the stuff, it’s invaluable for baking and for balancing flavors in unexpected ways.
» ‘Tis the season to use any and all tomatoes you can. Use halved cherry or grape toms, here, or chop up some big, blowsy heirlooms - or use a mix!
» Mint and holy/Thai basil are traditional and important, but feel free to add in other tender herbs, too, if you have them: cilantro, parsley, tarragon, even dill.
» Thai chilis come to play, so if you’re hesitant about spice, feel free to swap in a milder pepper like a jalapeno.
» This serves 2, generously, or 4 as part of a larger spread, but feel free to double or triple as needed. Consider quantities and amounts here to be suggestions: adjust to your preference with abandon.
Ingredients
For the dressing:
1/4 cup of fresh lime juice, as well as the zest from those limes (3-4)
1/4 cup of fish sauce
2 teaspoons of brown sugar
3 Thai bird chilis, thinly sliced into rings
1” knob of ginger, minced
2 cloves of garlic, peeled and crushed
1/2 teaspoon of salt
1/2 teaspoon of instant espresso or coffee powder
1 stalk of fresh lemongrass (optional but I like it, here; don’t use dried)
1 whole shallot
1 cup of halved or chopped tomatoes
4 small Persian cucumbers, shaved into ribbons with a vegetable peeler
1lb cut of flank or skirt steak
1 teaspoon each: fine-grained salt and brown sugar
2 tablespoons of butter or coconut oil, divided
4-8 ounces of shiitake mushrooms, stemmed and sliced
about 4 cups of prepared (cooked) farro (from about 1/2 pound, dry)
2-3 cups of washed and dried fresh mint and basil leaves, roughly torn
Instructions
Whisk together all of the dressing ingredients in a large bowl, then remove 2 tablespoons’ worth and set aside for later.
Peel and thinly slice lemongrass and shallot into very thin rings, and add to the large bowl of remaining dressing. Add, too, the halved tomatoes and shaved cukes, and toss everything together. Let this rest for at least 30 minutes so that the vegetables have time to marinate and to contribute their juices to the dressing. You can prep this up to a day in advance. Before serving: taste, and adjust for seasoning; you can add more fish sauce or some soy sauce for salinity, more lime, more sugar, more spice. Be happy with it.
Rub your flank steak all over with the salt & brown sugar mixture and place it on a sheet pan. Transfer the pan to a cold oven, then close it and set the oven temp to 200F. Bake at this very low setting until the thickest part of the cut reaches an internal temperature of 120-125F - depending upon the shape and size of your steak, it should take about 45 minutes. Remove from the oven and allow the steak to rest for 10 minutes.
When you are ready to eat, generously season both sides of the steak with the reserved 2 tablespoons of dressing. Heat 1 tablespoon of butter in a skillet over high heat until it begins to sizzle, then sear the steak just until a sticky, delicious-smelling charred crust begins to form, about 2 minutes per side. Again set the steak aside to rest for 10 minutes.
You can grill your steak, if you prefer - it’s more traditional, and that smoky char really can’t be beat. I use the pan here because the drippings and fond help to season the mushrooms and farro - that’s all.
Add the second tablespoon of butter to the pan and add the shiitakes, then reduce the heat to medium. Saute the mushrooms for 3-5 minutes until they too begin to get crispy and brown at their edges. Stir occasionally, and take care to scrape up any browned bits leftover from searing the steak.
Add the cooked farro and continue to pan fry, stirring occasionally, until the farro begins to crisp, about 10 additional minutes. If it’s slow to crisp, that’s ok: add a little more butter or oil and be patient. It will get there.
Your dressing is intensely flavorful, so we don’t want to over-season, here, but neither do we want to forget to season: taste your mushrooms and farro and sprinkle with a bit of salt, or a splash of soy or fish sauce, as needed.
Once the farro and mushrooms are hot and delightfully golden, transfer them to a serving platter. Slice the steak on a bias and arrange the slices over the farro - and drizzle over any steak juices from the cutting board, too. Top with the dressing and marinated vegetables, shower with the fresh herbs, and enjoy immediately.
Butterpat.
A little something extra.
July and August are summer months, for most of us* - months of early harvests and a bounty of produce. Here are a few random, helpful tips for storage:
Ripening tomatoes on a countertop? Remove their stems and flip them over so that they are resting on their shoulders, stem-scar down. This disperses their weight better, and by avoiding pressure points on their sides, they’ll last longer.
Ripening melons on a countertop? They often suffer from the same pressure-point problems - if they rest on one side for too long, gravity and their juicy weight conspire to create soft-spots that quickly turn to rot. Melons don’t balance on their stem-ends as well as tomatoes do, so instead, be sure to roll them 1/4 turn or so every day until you’re ready to slice into it.
Fresh (and unhusked) corn, summer squashes, peppers, or eggplants? These will do better in the fridge: place them in a clean produce bin away from tree fruits (they off-gas ethylene that will speed up the natural deterioration process of other produce). Wet a paper towel, squeeze out most of the water, and then tuck it into a corner of the bin in a loosely-shaped ball: this will help maintain the humidity in the bin and keep your goodies from drying out. Turn the veg every day or so (those dang pressure points, again!) and dampen the paper towel as needed.
*Though not for everyone reading: hello, you southern-hemi chilly willies. Sorry that this one doesn’t apply to you quite as seasonally.