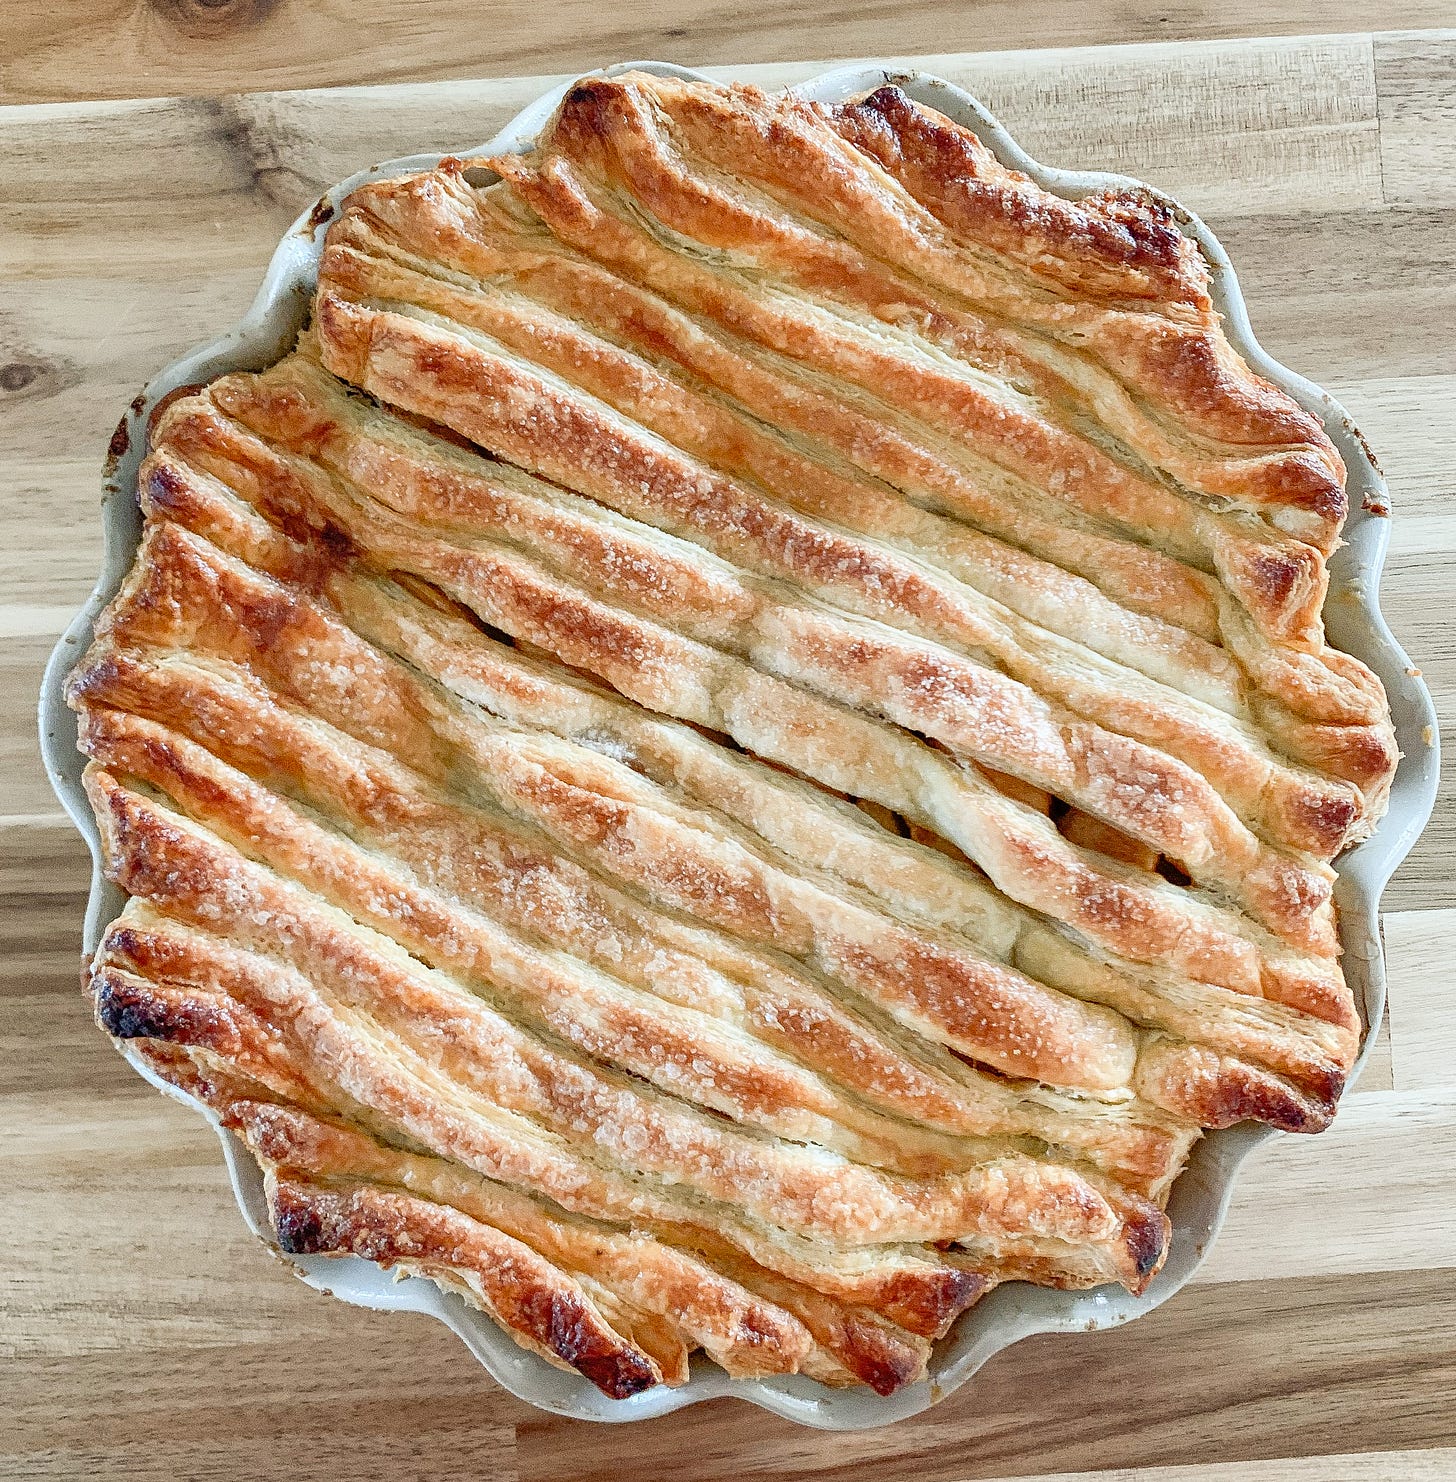
Vol. 8: Apple Pie.
Pasta 2.0 is coming, but I’m having a really busy week - some unexpected deadlines, a hosted dinner party, a business trip, a rotating cast of beloved visitors in my guest bedroom - and I have shamefully neglected putting together the (five!) recipes for that issue. I even bought the dessert for that dinner party instead of making it, thinking the expense would buy me the gift of extra time. I was wrong.
So: the rest of Pasta will hit your inboxes next week. If you haven’t read the first half, you can find it here, and I humbly recommend you give it a shot (unless you just super hate noodles, I guess): it’s been the most popular issue to date by far, and I’ve gotten dozens (actually dozens) of texts and emails and DMs of proud pasta pics, and it’s just the best (thank you).
One specific question was asked on repeat, following the Pasta mailer, so I’m answering that below, and I’m also including the recipe for the dessert I wish I had made this week. Do you - does the world - need another apple pie recipe? Perhaps not! I’m separating the crust from the filling for you, though, in case you’re only interested in one or the other. Still, feel free to skip it. See you soon. xo.
Reader Q
Question: “You said the methods in The Pasta Issue are for dried pasta only, and not fresh egg pasta - but what about dried egg pasta? Do they work for that?” - a lot of people (I think six.)
Answer: That is a GOOD ASS QUESTION, and I should have put this in there. It turns out that the full answer is complicated, which unfortunately means that the simple answer has to be NO - you should not add dried egg pasta to water that’s not already boiling. Eggs actually do coagulate at temperatures similar to those necessary for cooking the starches and protein in the flour, so sometimes, it’s totally fine to add the dried egg pasta straight to hot water before putting the pot on the stove. However, there’s a problem with hydration: dehydrated eggs rehydrate MUCH faster than raw flour does. Because the proteins in eggs provide additional structural integrity to pasta dough, egg pastas are often thinner than ones made with just flour and water - and that thinness, coupled with the rapidity with which the dried egg will absorb water, means that the pasta will fully rehydrate long before the water reaches the temperatures necessary to set the proteins in the flour and egg - the pasta just turns back into paste. SOME dried egg noodles ARE thick enough to slow hydration, but unless you’re sure (and full disclosure: prior to researching this and doing some experiments, I wasn’t sure, either!), it’s not worth the gamble; bring the water to a boil, first. (P.S. Annie, I owe you dinner.)
Apple Pie
A text version instead of an image file!
Crust
This is what’s often called a blitz/rough-puff dough: an easy, forgiving, and SUPER flaky dough that has a lot of structural integrity: it won’t rip or tear as you move the rolled dough to your pie dish, as long as you keep it as cold as possible. Makes enough for a double-crust pie. Refrig for up to 24 hours or freeze it. Don’t toss your scraps: cut into strips and bake them on a sheet pan until crispy. Pie fries.
300g of all-purpose flour (2.5 cups), plus extra for dusting
1 tablespoon of white sugar (eyeball it is fine)
1 teaspoon of fine salt (sea salt or pink Himalayan - again, eyeball is fine)
10oz of very cold butter (2.5 sticks), cut into roughly 1/2” cubes
1 cup of ice water, divided (you won’t use it all)
Whisk together the flour, sugar, and salt in a large bowl.
Add the cubed butter and toss gently with your hands until each cube is coated. Then, quickly (so as not to warm the butter too much) but carefully (to ensure that each piece of butter only gets handled once), work through the mixture and pinch each cube of butter once to smash it flat. The pieces will be big and rough; that’s ok. Smash smash smash, one time each.
Once all of the butter has been smashed, add in 1/3 cup of ice water and, using one hand, fold the water into the buttered flour until a crumbly dough forms. Add more water 1 tablespoon at a time until the dough is completely cohesive - no remaining areas of dry flour in the bowl - but not overly wet or sticky. (FWIW: in my very dry house, I usually need 2-3 additional tablespoons of water; if yours is more humid, you’ll likely use less.)
Pat dough into a tidy ball (it will not be smooth - it just shouldn’t be sticky), wrap in plastic, and tuck it into the fridge for 25-30 minutes. (This would be a great time to prep your filling.)
After its rest, unwrap the dough and place on a lightly floured surface, and roll into a rough square about 1/2” thick. Fold in thirds horizontally, to create a long rectangle that’s three layers thick, and then fold this rectangle into thirds vertically to create a small, thick square that is now nine layers thick. (If that visual doesn’t work for you: imagine a tic-tac-toe board on your rolled dough, and you’re folding along each set of lines to stack the 9 squares.) Roll again to a similar thickness, repeat folds, and marvel at how quickly you just created 81 (!!!) flaky layers.
If your kitchen is cold or you have a marble/granite/cold counter-top, and if you worked quickly, you can now cut your dough square in half and proceed to carefully roll it into two rough circles, each 10” or so in diameter. If you did your initial rolls and folds slowly and/or you have a warm kitchen, re-wrap your dough and stick it back in the fridge for 20 minutes before cutting and doing the final roll.
Dough can be blind-baked or par-baked, if your recipe calls for it, but it doesn’t have to be. This works just fine as a solid, plain double-crust pie, but some fancy cuts really show off all of your flaky layers: consider a lattice or some braids for your top crust. You can do it! Regardless of how you finish it: I like to bake this at 400F to ensure a crispy bottom without over-baking the top. For a filled, double-crust pie, that’s about 50-60 minutes. If you bake in a glass pie dish, just lift it up and take a peek: the pie is done when the bottom crust looks golden, not pale. If your top is browning too quickly, lower the rack to the bottom of the oven.
Alterations: this crust recipe does not work as well with vegan butter or with shortening, and I have not tested it with gluten-free flour substitutes, so I recommend that if you need to make either accommodation that you use a different recipe entirely. Other crusts are amenable to swaps but a blitz just kind of isn’t.
Apple Pie Filling
Pre-cooking your pie filling does four important things: helps the pie cook faster, to avoid burnt crust; rids you of a ton of excess moisture, to gird against a watery pie; concentrates the apple juices for a really intense apple-y flavor; and allows you the opportunity to taste your filling for proper seasoning before it’s too late. Do whatever you want with this: make the pie, use it to make a crumble or a crisp or a betty or a cobbler instead, or just make it and eat it with a spoon.
3.5 pounds (8-9 apples, depending on size) - peeled, cored, and sliced OR diced
juice of one large lemon
1 cup of brown sugar, divided
2 teaspoons of fine salt (like sea salt or pink Himalayan)
2 teaspoons of Chinese Five-Spice powder
1 teaspoon of powdered ginger
1 tablespoon of good quality vanilla
3 tablespoons of butter
2 tablespoons of (good!) apple butter, maple syrup, or (my choice) apple syrup
1/4 cup of all-purpose flour
Toss sliced (or diced; totally your preference) apples in a large bowl with lemon juice, salt, and 1/2 cup of the brown sugar, and allow to sit for at least 30 minutes and up to 4 hours (apples will release a LOT of juice).
After the apples have rested, strain the juices into a large skillet and cook over medium-high heat until reduced by at least half, 5-7.
Add spices, vanilla, butter, and remaining brown sugar, and stir to incorporate. Cook for a minute or two and then carefully add the sliced apples and apple butter/syrup, again stirring to incorporate and fully dress the apples in the pan sauce. Cook for 7-10 minutes until apples stop releasing additional juice, the pan sauce has thickened, and the apples are just starting to soften.
TASTE YOUR FILLING. It should be tart, sweet, and salty, like a buttery caramel apple. Add a squeeze of lemon or cider vinegar, a tablespoon of sugar, or more salt as needed. This ISN’T an overly spiced pie, so feel free to add more 5-spice or even plain cinnamon if that’s your jam.
Sprinkle flour over the seasoned apples, stir to incorporate, simmer until just starting to thicken, and remove from heat.
This is where I officially tell you to completely chill the filling before completing your pie, lest the heat from the apples melts the butter in your beautiful dough. Unofficially, though, I will tell you that I am very impatient and usually only wait 5-10 minutes and as long as you work quickly to fill the pie pan and add your top crust, and get it immediately into the oven, it’s usually pretty much fine. If you work more slowly or cautiously, that’s also fine! Just let it cool completely first.
This filling, added to a double-crust pie and baked in a 9” pie pan on the middle rack at 400F, will take about an hour to hit a center filling-temperature of 195F (our target) - start checking after 45 minutes to ensure your crust isn’t browning too fast. Let it cool for about an hour before you cut into it.
Alterations: swap in vegan butter, no big deal. For a gluten-free filling, I like potato starch more than corn starch, but either works. Adjust the spices as you’d like: more or less 5-spice, swap in plain cinnamon, add nutmeg, add a pinch of cayenne, add the zest from the lemon, add the scrapings of a vanilla bean. Add another teaspoon of salt if you’d like to work the salted-caramel angle. To add dried cranberries, cherries, or raisins to the pie, add them in the first stage so that they can absorb some of the apple juices during maceration; 1/2 cup, max! Too much dried fruit can make this filling method too dry and pasty. Add walnuts or pecans at the same volume. Don’t swap or add in other fruit like pears or quince; this isn’t the preparation for those.